
Cherry Pie Filling Recipe from Frozen Cherries

How to Make the Juiciest, Most Flavorful Cherry Pie Filling from Frozen Cherries

There’s something so comforting about homemade cherry pie filling—the deep red color, the sweet and slightly tart flavor, and the way it fills your kitchen with the most irresistible aroma. I still remember the first time I attempted to make cherry pie filling from scratch. I had always relied on store-bought cans, thinking it was the easiest way. But one day, I had a bag of frozen cherries in my freezer and thought, "Why not try making it from scratch?" Let me tell you—it was a game changer! This homemade cherry pie filling is rich, flavorful, and surprisingly easy to make. Plus, it’s incredibly versatile. Whether you’re baking a classic cherry pie, spooning it over pancakes, or swirling it into cheesecake, this filling will become your new favorite.

In this post, I’ll walk you through exactly how to make the best cherry pie filling from frozen cherries, complete with exact measurements, expert tips, and even an option for canning so you can enjoy it anytime. Let’s get started!

This post may contain affiliate links at no extra cost to you. Please read our full disclosure here to find out more.

How to Make the Juiciest, Most Flavorful Cherry Pie Filling from Frozen Cherries

Why Use Frozen Cherries?

You might be wondering—why use frozen cherries instead of fresh ones? The answer is simple:

  • Convenience: No need to pit cherries, which saves a ton of prep time.
  • Flavor: Frozen cherries are picked at peak ripeness, locking in their natural sweet and tart flavors.
  • Year-Round Availability: Fresh cherries have a short season, but frozen cherries are always available.
  • With all these benefits, it’s easy to see why frozen cherries are the best option for homemade cherry pie filling!

    Ingredients You’ll Need

    Here’s exactly what you need to create this sweet, juicy cherry pie filling:

  • 4 cups frozen cherries (thawed)
  • 3/4 cup granulated sugar
  • 1/4 cup water
  • 2 tablespoons lemon juice (freshly squeezed)
  • 1/4 teaspoon salt
  • 3 tablespoons cornstarch
  • 1 teaspoon vanilla extract
  • 1/2 teaspoon almond extract (optional but enhances cherry flavor)
  • These simple ingredients come together to create a filling that is thick, glossy, and packed with flavor.

    Step-by-Step Guide: How to Make the Best Cherry Pie Filling

    1. Thawing and Prepping the Cherries

    Place the frozen cherries in a bowl and let them thaw at room temperature for about 30 minutes. Drain excess liquid, but save about 1/4 cup of the juice to enhance the filling’s flavor.

    2. Cooking the Cherries

    In a medium saucepan over medium heat, combine the cherries, sugar, lemon juice, salt, and water. Stir frequently and let the cherries release their juices, about 5-7 minutes.

    3. Thickening the Filling

    In a small bowl, whisk cornstarch with 2 tablespoons of water to create a slurry. Slowly add this mixture to the saucepan while stirring. Continue cooking for 2-3 minutes until the filling thickens.

    4. Adding Final Touches

    Once thickened, remove from heat and stir in vanilla extract and almond extract. Let it cool before using or storing.

    Must-Have Kitchen Tools for Making Cherry Pie Filling

    To make this process even easier, here are three kitchen essentials that will take your cooking to the next level:

    1. Cuisinart 1.5 Quart Saucepan Saucepan

    A good saucepan ensures even cooking and prevents your cherry pie filling from burning. The Cuisinart 1.5 quart saucepan is my go-to—it distributes heat evenly and is built to last.

    Get it on Amazon here: Cuisinart Saucepan

    2. OXO Good Grips Silicone Spatula

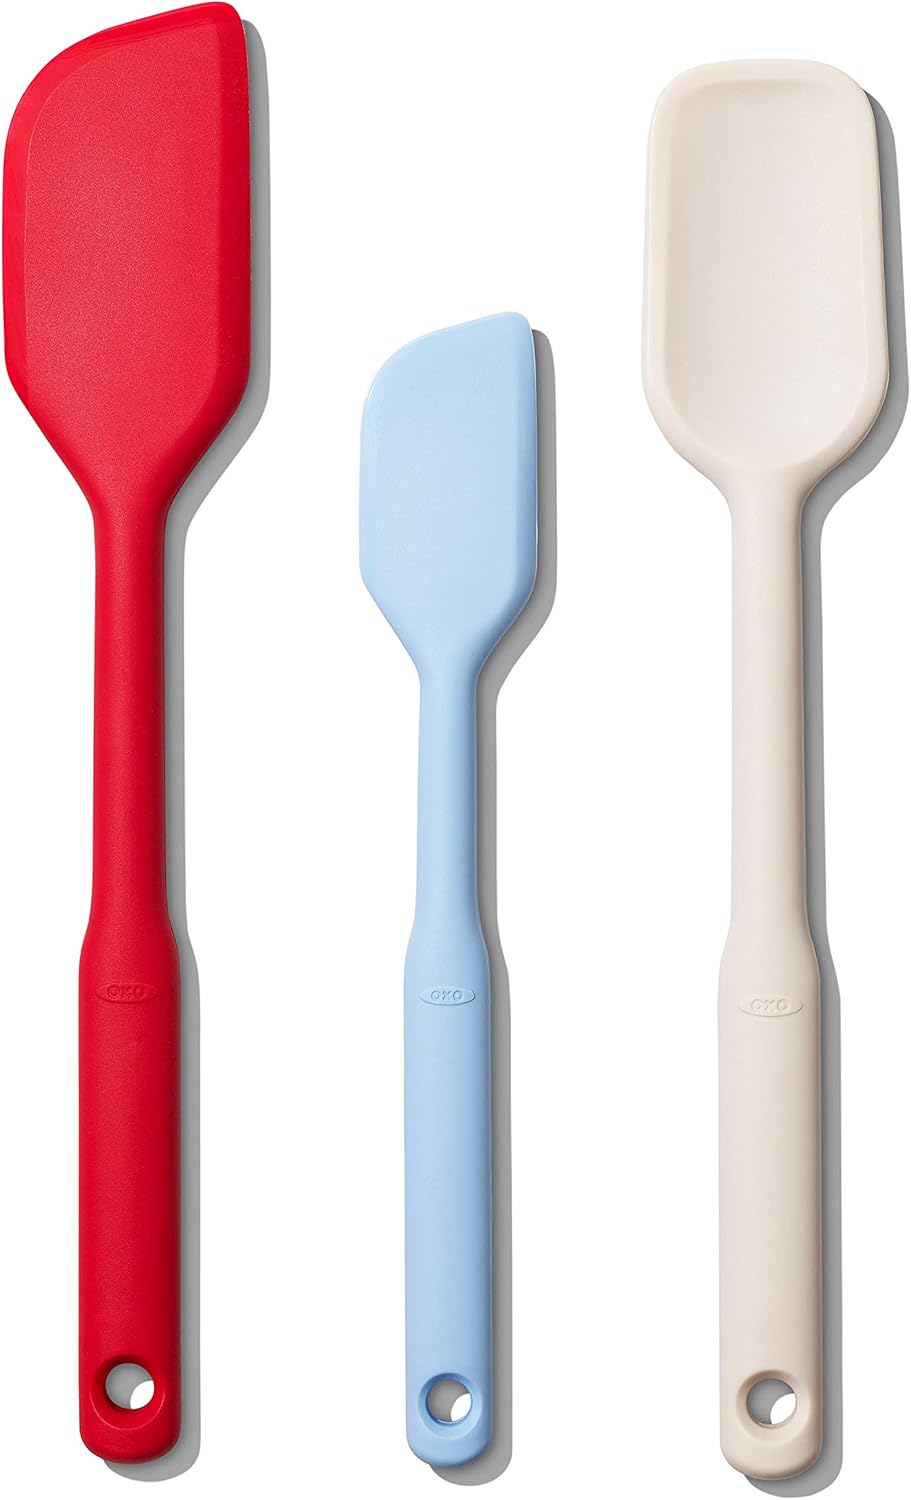
    A sturdy silicone spatula is essential for stirring the filling without scratching your cookware. This one from OXO is heat-resistant and super durable.

    Order yours here: OXO Silicone Spatula

    3. Ball Mason Jars for Canning

    If you love making homemade preserves, mason jars are a must. These Ball Mason Jars are perfect for storing cherry pie filling.

    Grab your set here: Ball Mason Jars

    How to Can Your Homemade Cherry Pie Filling

    If you want to preserve your filling for later, canning is a great option!

    Canning Instructions:

    1. Sterilize pint-sized mason jars in boiling water for 10 minutes.

    2. Pour the hot cherry pie filling into the jars, leaving 1/2-inch headspace.

    3. Wipe the rims clean, place the lids on, and screw the bands fingertip-tight.

    4. Process in a boiling water bath for 15 minutes.

    5. Remove from water and let cool for 24 hours before storing.

    Properly canned cherry pie filling can last up to 12 months!

    How to Use Your Cherry Pie Filling

    This filling isn’t just for pie! Here are some creative ways to use it:

  • Cherry Pie – Classic and delicious!
  • Cheesecake Topping – Swirl it into homemade cheesecake.
  • Pancake or Waffle Topping – Elevate your breakfast with a spoonful.
  • Yogurt Mix-in – Add it to Greek yogurt for a sweet treat.
  • Ice Cream Drizzle – The perfect finishing touch.
  • Pro Tips for the Juiciest, Most Flavorful Cherry Pie Filling

  • For extra flavor, add a splash of cherry liqueur or bourbon.
  • If your filling is too thick, add a bit more water until you reach the desired consistency.
  • For a deeper red color, a teaspoon of beet juice works wonders without altering the flavor.
  • If you love extra tartness, increase the lemon juice slightly.
  • Conclusion

    Making homemade cherry pie filling from frozen cherries is easier than you think! Not only does it taste better than store-bought, but it also allows you to control the sweetness and quality of ingredients. Whether you’re using it for pie, desserts, or as a topping, this recipe will become your new favorite.

    If you try this recipe, I’d love to hear how it turned out for you! Leave a comment below or tag me on social media with your delicious creations. Happy baking!

    Comments

    Popular posts from this blog

    Mexican Flank Steak Marinade

    How to Make the Best Mexican Flank Steak Marinade (With a Chef’s Tip!) There’s something truly magical about a well-marinated steak sizzling on the grill, filling the air with rich, smoky aromas. I still remember my first experience with authentic Mexican Flank Steak Marinade. It was on a trip to Mexico, where I stumbled upon a tiny street food stand in Mexico City. The chef behind the grill had been marinating the steak since the morning, and when I finally took a bite of the juicy, flavorful carne asada taco, I knew I had to learn how to recreate it at home. Since then, I’ve tested countless recipes, fine-tuned the flavors, and even picked up a chef’s trick that makes the steak extra tender. In this post, I’ll share my best homemade Mexican Flank Steak Marinade with exact measurements, quick and easy tips, and product recommendations to elevate your cooking. Whether you're making taco meat, carne asada, or just wondering what to have for dinner, this marinade will become y...

    Shrimp Boil Recipe Stovetop

    This One-Pot Stovetop Shrimp Boil Will Be Your New Go-To Recipe! There’s nothing quite like a classic shrimp boil—the bold flavors of juicy shrimp, tender potatoes, sweet corn, and smoky sausage all cooked together in a spicy, buttery broth. Traditionally, shrimp boils are cooked outdoors in huge pots, making them a summer staple. But what if I told you that you can achieve the same delicious taste at home with a one-pot stovetop shrimp boil? Yes, it’s totally doable, and I’m here to show you how! I first made this stovetop shrimp boil on a chilly evening when I was craving seafood but had no interest in standing outside over a giant boiling pot. After some trial and error, I found the perfect balance of Cajun seasoning, Old Bay, and a rich butter sauce to make this dish just as flavorful as the traditional version. Plus, it’s quick, easy, and budget-friendly—perfect for a cozy family dinner or a fun gathering with friends. This post may contain affiliate links at no extra cos...

    Vision Board Ideas

    Vision Board Ideas That Actually Work: Transform Your Goals into Reality When I first learned about vision boards, I was skeptical. Could pinning some pictures on a board really help manifest dreams into reality? But then I tried it, and something magical happened. My goals became clearer, my actions more focused, and little by little, I began ticking off dreams that once felt far away. Writing this blog post feels deeply personal because I’m sharing tools that changed my life. If you’re looking for inspiration and practical steps to create a vision board that actually works, you’re in the right place. In this article, we’ll explore what vision boards are, why they work, and how to design one tailored to your goals. Along the way, I’ll share a few book recommendations to help deepen your journey. This post may contain affiliate links at no extra cost to you. Please read our full disclosure here to find out more. What is a Vision Board, and Why Does It Work? A vision b...